HVAC Filter Inspection Checklist for Commercial Units

A commercial HVAC filter inspection checklist covers visual checks, airflow measurements, and documentation steps. It helps technicians verify filter condition, identify clogging, and maintain system performance.
- Inspect commercial HVAC filters visually and by airflow to catch clogging before capacity drops.
- Check filter media, frames, and seals for damage, debris, or bypass air.
- Document findings and replace filters based on pressure drop and manufacturer guidance.
- Combine filter checks with coil and fan inspections to protect downstream components.
What to Check Before Opening the Filter Panel
Commercial units run through long cycles of dust, moisture, and variable airflow. The filter sits at the intake and protects the coils, dampers, and fan motors. A short pre-check stops small issues from becoming major downtime.
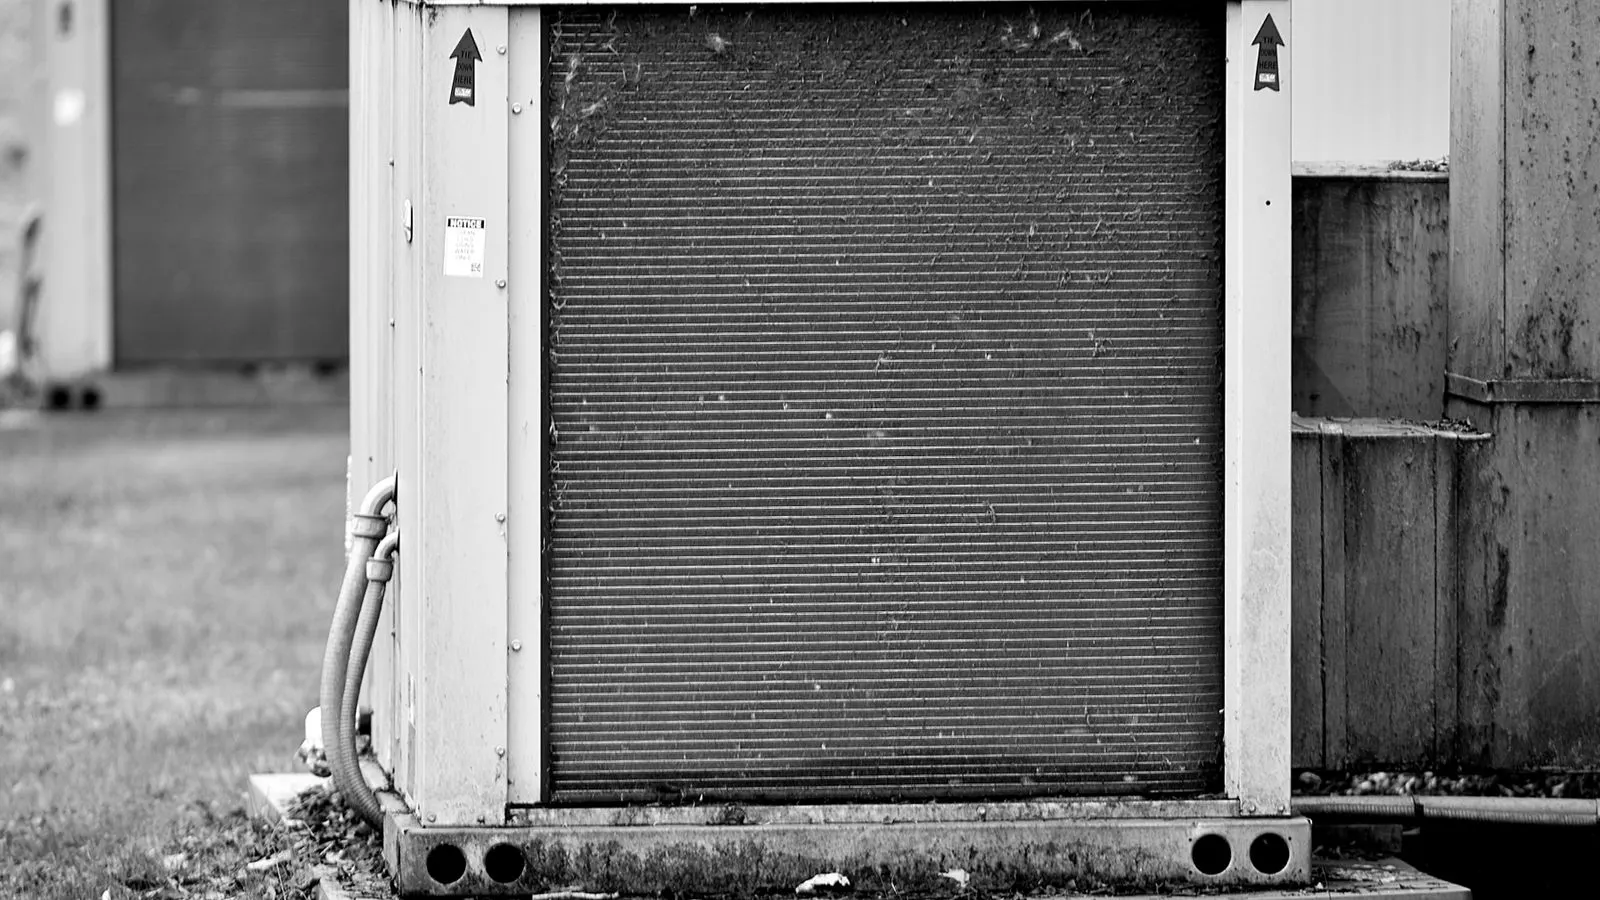
Start at the access panel. Confirm the unit is locked out, the fan is stopped, and the area is clear of debris. Look for condensation on the panel edges. Water near the filter suggests a coil or drain issue that can damage the media. Check the filter face for visible buildup. A thick layer of dust or lint means the unit has been running past its expected service window.
Look at the filter frame. Metal frames can rust where water collects. Fiberglass or synthetic frames can warp if they sit in a wet plenum. A bent frame allows air to bypass the media. This bypass reduces filtration and puts a heavier load on the coils.
Check the filter size and rating. Commercial units often use 16 by 24 or 20 by 20 panels, but rooftop packages and air handlers vary. Confirm the MERV or MERV rating matches the nameplate or maintenance log. A higher rating increases pressure drop and can reduce airflow if the fan is not sized for it.
Visual Inspection of Filter Media and Frame
Open the filter rack slowly. Avoid shaking loose debris into the plenum. Remove the filter if the system allows. If not, inspect it in place with a flashlight.
Look at the face of the filter. Even clogging is normal. One dark streak or a patch of black dust usually means a damper is stuck, a duct is leaking, or a fan wheel is dirty. Check the leading edge of the filter. A jagged or torn edge means the filter was forced into a rack that is too small or the frame is warped.
Inspect the back side if accessible. Some commercial units have a return plenum that shows condensation or dust buildup behind the filter. Dust on the back side indicates the filter is not capturing particles. This can happen with a damaged media or an incorrect MERV rating for the system.
Check the frame and gaskets. Foam gaskets harden and shrink over time. A gap between the frame and the rack lets unfiltered air enter. A torn gasket is a common cause of poor indoor air quality in commercial spaces. Replace the gasket if it cracks, cracks, or pulls away from the frame.
| Inspection Point | What to Look For | Action Required |
|---|---|---|
| Filter face | Even dust buildup or dark streaks | Replace if clogged or stained |
| Filter frame | Rust, warping, or bent corners | Replace frame or filter |
| Gasket seal | Cracks, gaps, or hardened foam | Replace gasket |
| Bypass air | Airflow around filter edges | Reseat filter or replace gasket |
| Media type | Fiber tears or synthetic damage | Replace filter |
Measuring Airflow and Pressure Drop
A visual check is not enough. Filters change system behavior. Measure static pressure across the filter before and after service. This gives a clear baseline for replacement.
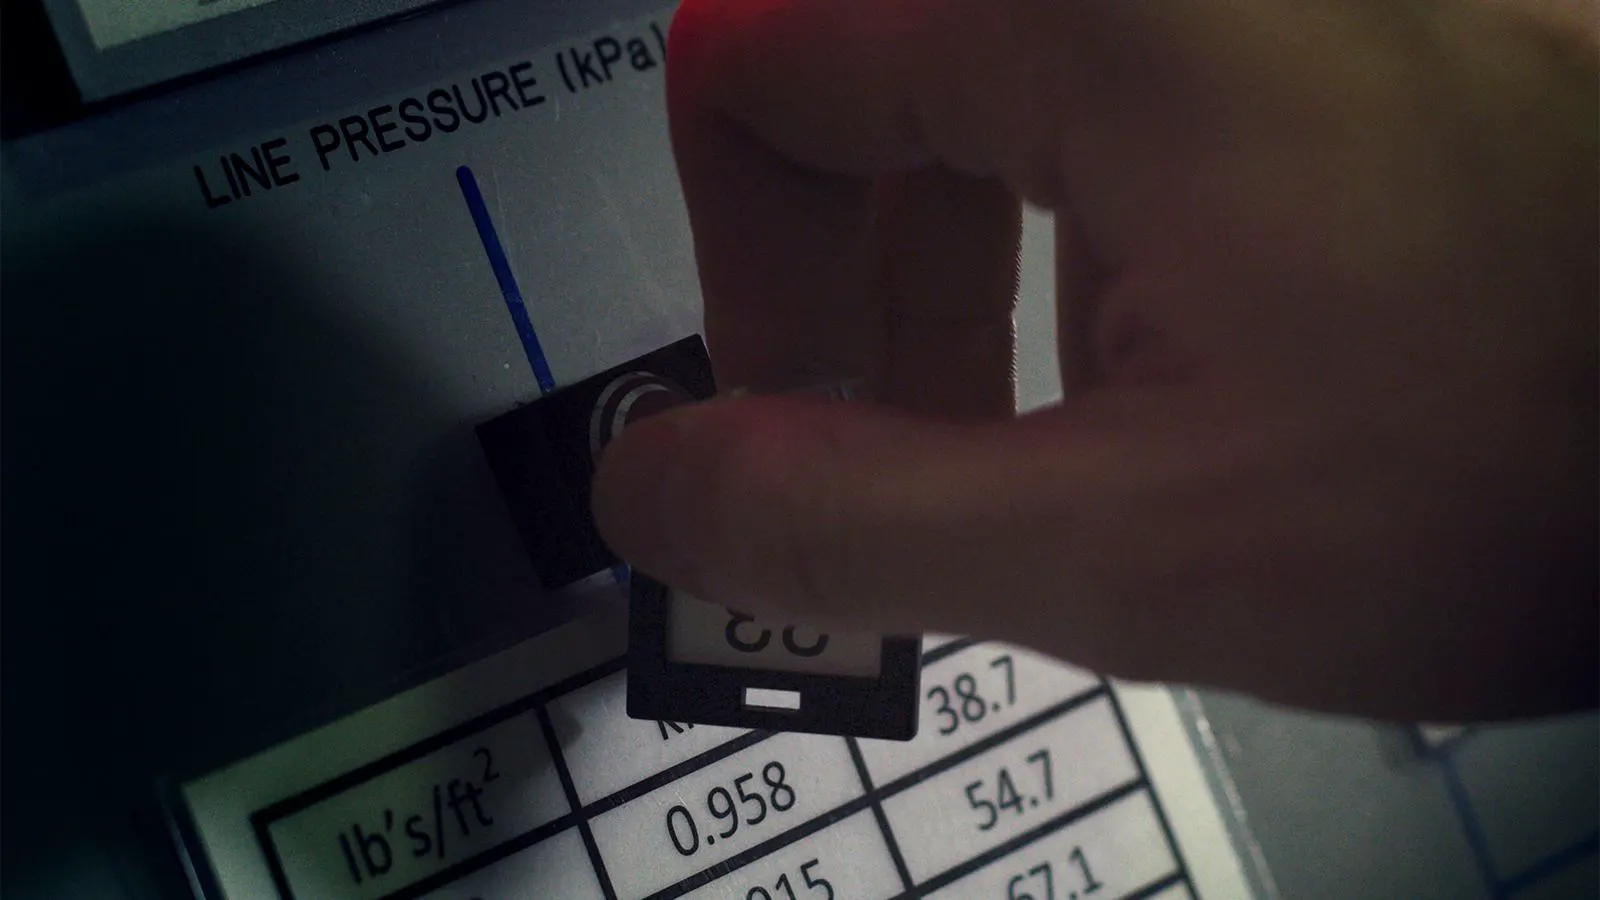
Use a manometer. Connect the positive side to the return plenum and the negative side to the supply plenum. Record the reading in inches of water column. A clean commercial filter usually shows a low differential. A clogged filter shows a higher reading. If the reading is above the manufacturer specification, replace the filter.
Check airflow at the supply registers if possible. A pitot tube or thermal anemometer gives a quick check. Compare the measured airflow to the design capacity. A drop in airflow suggests the filter is restricting air or the fan is not moving enough.
If the static pressure is high, do not simply install a higher MERV filter. The fan may not have the torque to push air through it. A higher rating can reduce capacity and cause short cycling. Match the filter rating to the equipment design.
Checking Coils, Dampers, and Fan Components
Filters protect the coils, but coils also affect filter life. Inspect the evaporator and condenser coils behind the filter. Look for dust bridges that form when the filter is bypassed or clogged. Clean coils with a coil cleaner and soft brush. Do not use high pressure on aluminum fins.
Check the return damper. If it is stuck partially closed, the filter sees less airflow. This can cause uneven loading and clogging on one side. Verify the damper actuator moves smoothly. Test the control signal if the damper is motorized.
Inspect the fan wheel. Dust buildup on the wheel blades unbalances the motor. Clean the wheel with a dry brush or compressed air at low pressure. Check the motor bearings for noise or roughness. A failing bearing can overheat if the fan runs against a clogged filter.
Look at the plenum. A dirty plenum traps dust and moisture. Wipe down the plenum with a damp cloth. Dry any standing water. Moisture in the plenum can grow mold on the filter media. This is a common issue in humid commercial spaces.
Documentation, Replacement, and Preventive Maintenance
Record the inspection in the maintenance log. Note the date, filter size, MERV rating, static pressure, and any visible damage. This creates a trend line for future visits. If static pressure rises steadily, the replacement interval is too long. If it stays low, the filter is working as expected.
Replace the filter when the static pressure hits the upper limit or the face is heavily clogged. Do not wait for a visible blockage. A clogged filter forces the fan to work harder and reduces heat exchange efficiency. Install the new filter with the airflow arrow pointing toward the coil.
Set the next service date based on the static pressure trend. A unit in a dusty environment may need a filter change every three months. A clean office building may need a change every six months. Use the manufacturer guidance and the field data.
Combine the filter check with other preventive maintenance tasks. Check the drain pan and trap. Inspect the refrigerant lines for oil spots. Test the safety controls. A filter inspection is the entry point into a broader system check.
Red Flags That Require Immediate Attention
Some conditions cannot wait for the next scheduled visit. Stop the unit and call the owner if you see any of the following.
Water on the filter face or inside the plenum. This indicates a coil leak or drain blockage. Continued operation can cause mold growth and electrical shorts.
A filter that is visibly torn or falling apart. This lets unfiltered air into the supply stream. The coils and fan will collect debris quickly.
Static pressure above the manufacturer limit. A high reading means the fan is struggling. This can trip the motor or damage the blower.
Airflow that drops below design capacity. A low airflow reading suggests a blocked filter, a stuck damper, or a fan issue. The system will not heat or cool properly.
A strong odor of mold or mildew. This means the filter or plenum is wet. Clean and dry the area before restarting the unit.
Final Checks Before Closing the Unit
Close the filter rack and secure the access panel. Remove any tools or debris from the plenum. Restore power to the unit. Start the fan and listen for unusual noise. Check the static pressure again after the unit runs for a short period.
Verify the control system shows no faults. Confirm the damper is in the correct position. Walk the supply registers to confirm airflow is even. A final walk-through ensures the inspection is complete.
A clean filter protects the coils, the fan, and the indoor air. A clogged filter wastes energy and shortens component life. Use the checklist as a standard practice. It saves time and keeps the system running.
Frequently asked questions
How often should commercial HVAC filters be inspected?
Inspect them at every scheduled service visit. Replace them when the static pressure rises or the face is heavily clogged.
What is the best way to measure filter pressure drop?
Use a manometer connected to the return and supply plenums. Record the reading in inches of water column.
Can a wrong MERV rating damage the system?
Yes. A rating that is too high can reduce airflow and overwork the fan. Match the rating to the equipment design.
What should I do if I find water on the filter?
Stop the unit. Inspect the coils and drain. Dry the plenum and clean the area before restarting.
Is a visual check enough for a commercial unit?
No. A visual check catches obvious clogging. Measure static pressure and airflow to confirm performance.